


USB digital microscopes are getting a lot of attention lately. This is because many individuals see these instruments as a very convenient and reliable type of microscope. Although the overall functionality has limitations and scopes, many are still using it in their respective tasks and jobs.
As it happens, the overall use of USB digital microscopes is debatable. Many people argue that these instruments are very much efficient when using it in their professional tasks and requirements. Others, however, would normally disagree since they believe that such microscopes are ideal only for hobbyists.
The truth is, these computer microscopes (you may call it by this name) are very much ideal only to hobbyists and alike. In fact, these microscopes are not highly recommendable for professional uses. But even so, many professionals today would still have their own computer or USB microscopes for emergency cases since it can still provide the most basic and simplest functionalities of a digital microscope.
Now, these are the basic aspects of USB digital microscopes. For sure, you already have a brief understanding of them – thanks to the given points above. But, if you want to know more about these microscopes, then you are in the right place!
USB Digital Microscopes Today
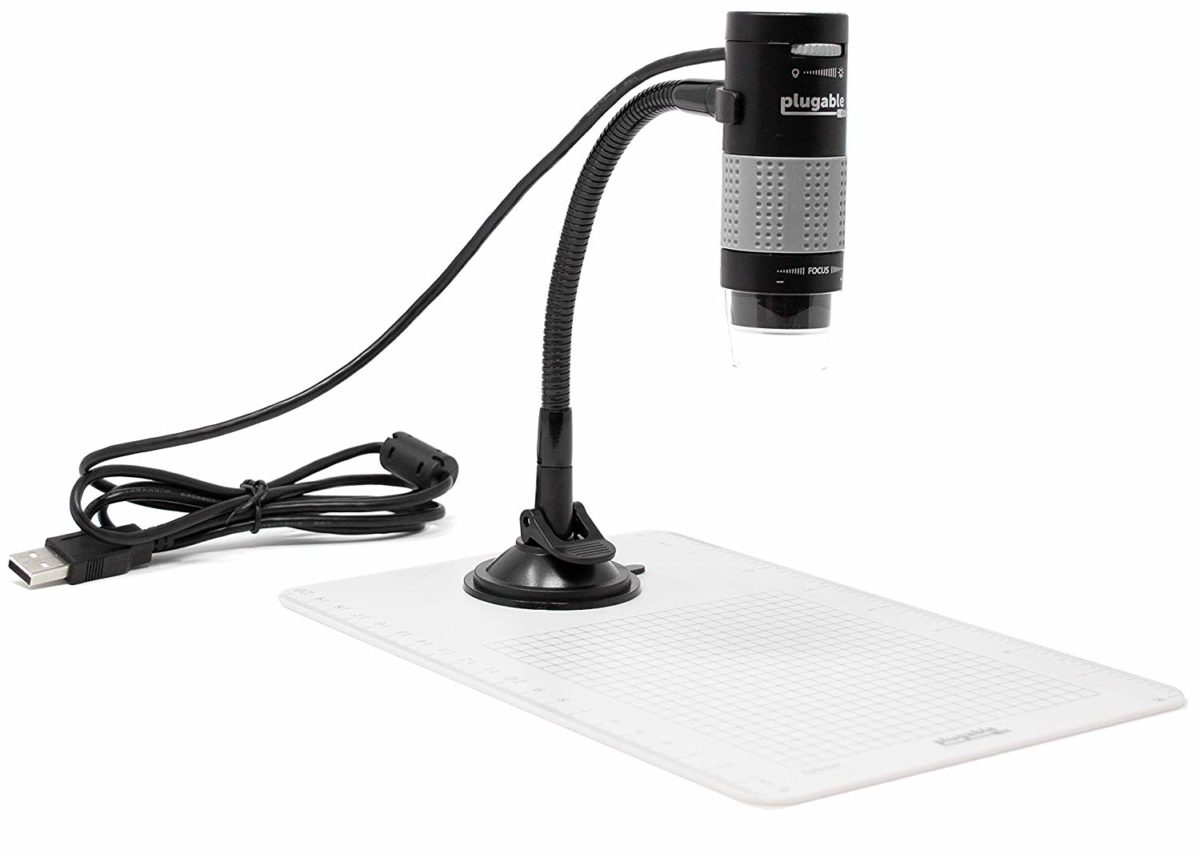
USB digital microscopes or as you may call it – computer microscopes – are 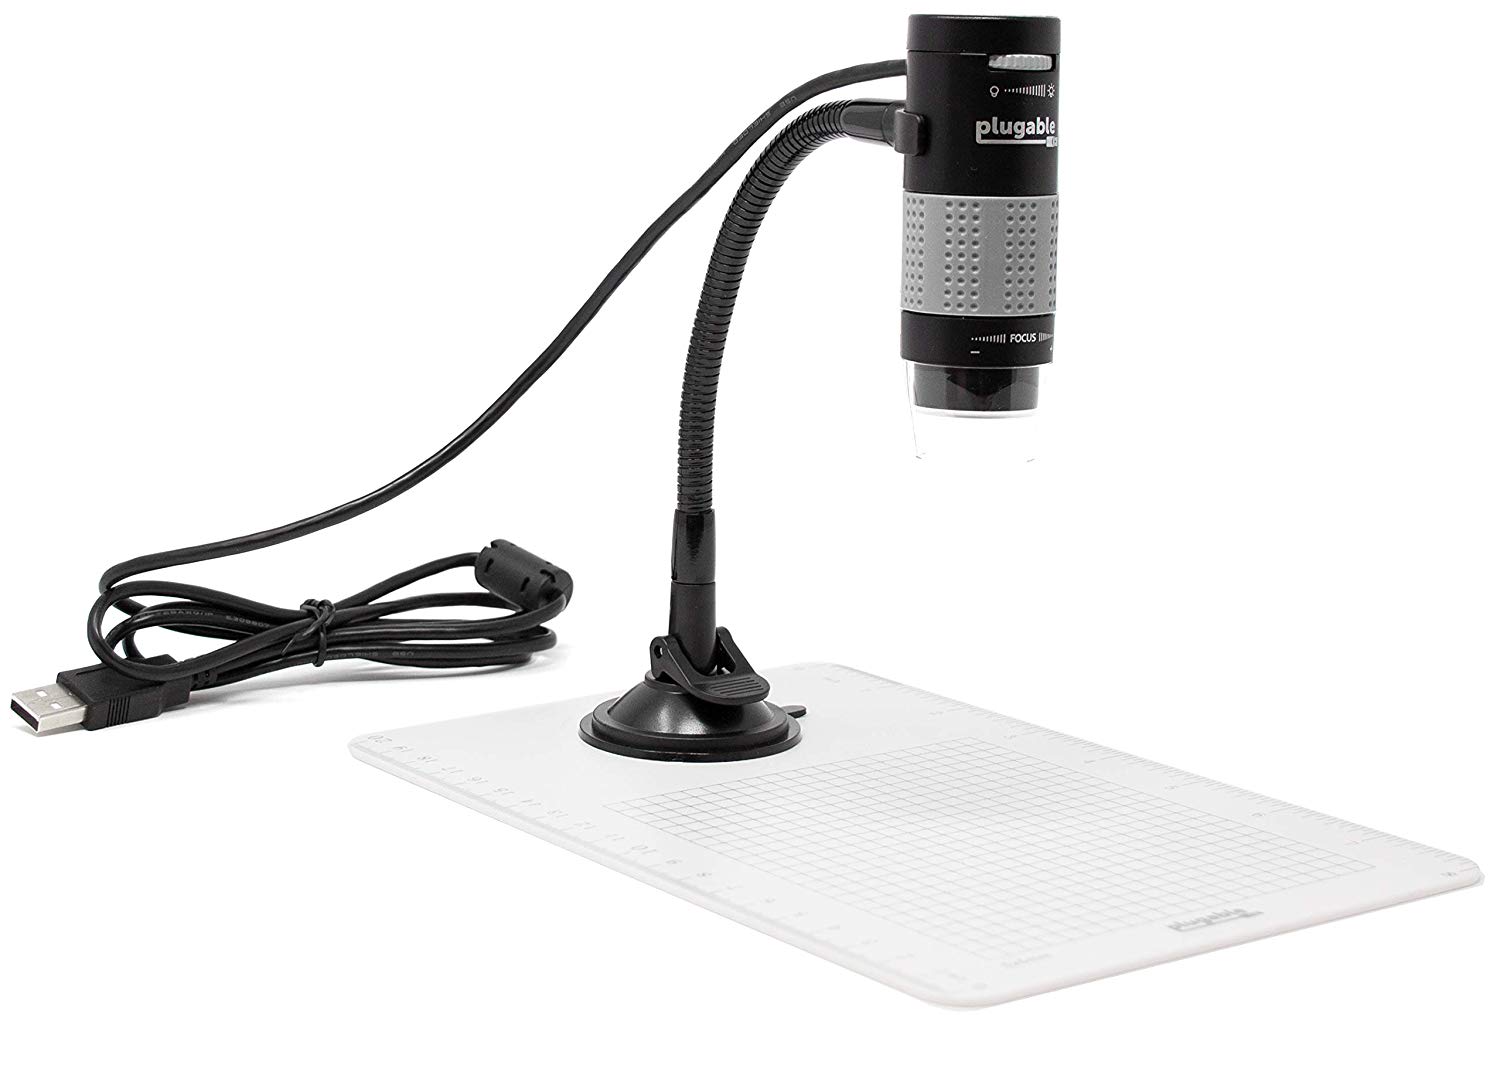 basically one of the many types of digital microscopes. And as the names states, USB, it means that you will need to have a USB cord in order to use the said optical instrument.
Usually, the USB cord is already in the package, so, when buying this type, you no longer need to worry about. Most probably, the most important thing that you need to consider is the software and its compatibility with your gadget.
This is why these microscopes are also known as computer microscopes. Basically, you will need to connect the USB cord from the digital microscope all the way to your computer or laptop. Once it successfully establishes the connection, you will need to run the software on your computer or laptop. And from there, you can then use the microscope for whatever purpose you intend to.
Numerous manufacturers now offer this type of digital microscope due to its increasing demand. So, if you are planning to buy one soon, then you could easily encounter tens or even up to hundreds of them on the market.
You may want to check this Digihero USB Digital Microscope Review if you are looking for a great type to start with.
Advantages and Drawbacks
The main advantages of USB digital microscopes revolve around its portability and flexibility. Most of the time, these instruments are handheld types, which is why you would see several handheld digital microscopes as well. And this means that such instruments are very portable and compact.
Also, using these microscopes allows the users to manipulate data whether for professional use or entertainment purposes. Plus, since it is digital, the output and data are very much manageable and controllable. You can send, share, print, and store them easily.
On the other hand, USB digital microscopes are not as functional as the traditional microscopes. They may lack some features that are required for professional usage which is why these instruments are not highly recommendable in a professional environment.
Setting Up Your USB Digital Microscope
Just like any digital microscope, before you can use it, you must first accomplish the inital setup. And since it is digital, the main setup and installation will largely involve its connectivity on your chosen device.
Usually, the most common devices that users utilize when using a USB digital microscope are computers and laptops. To make it much more obvious, well, you will need a USB port in order to make the microscope function.
The Step-By-Step Process
Here is a quick step-by-step process for the initial setup of the USB microscope:
-
-
-
- When you take the microscope out of the box, ensure that the instrument has a USB cord in the package. Also, inspect the overall tool for dents and damages. But if all is well and looking good, then you may proceed with the next steps.
- Before anything else, make sure that you read the instruction manual. As it happens, all the things that you will need in order to set it all up is already written in the manual.
- Turn on the device that you will use to manage the USB digital microscope. When using a laptop, you must turn it on and plug the USB in one of its port. As for using a desktop computer, the same processes must be done so you can plug the USB.
- Once the USB is plugged, turn on the digital microscope. Upon turning it on, you will notice that there is a need for you to install the accompanying software and drivers on to the computer or laptop. Keep in mind that without installing these things, you cannot fully operate the overall features and functionalities of the instrument.
- Usually, the software and the drivers are already in the package. And you will just need to follow the steps that it requires for the installation. Others, however, will require you to download these things from the brand’s or the manufacturer’s site before you can install them on to your computer or laptop. But even so, installation of the software and the drivers is also a very straightforward thing to do.
- Once the installation is done, you can now proceed to using the USB digital microscope alongside its features.
-
Final Thoughts
-
USB digital microscopes are one of today’s most convenient optical intruments to use. Aside from being a digital type, its USB functionalities allow itself to provide tools and features that are very helpful to the users.
Setting it up and installing the accompanying drivers and software might be overwhelming for some, but with the help of the manual and other step-by-step procedures given by the guides, it will only take you a few minutes before you can use the said instrument.