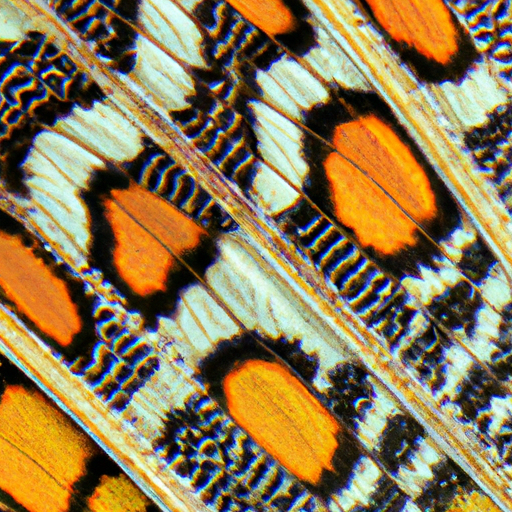
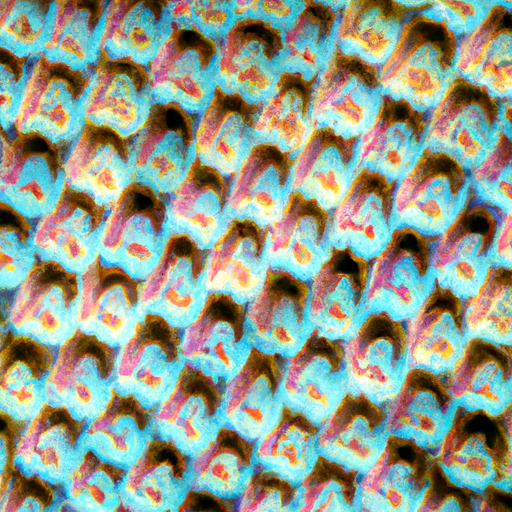
Have you ever wondered if you can transform your ordinary phone camera into a powerful microscope? Well, you’re in luck! In this article, we will explore the fascinating world of mobile microscopy and show you how you can easily turn your phone into a microscope to magnify the tiniest of objects. Get ready to unlock a whole new level of exploration and discovery right at your fingertips!

Understanding the Concept
What is a microscope?
A microscope is a scientific instrument that allows us to view objects that are too small to be seen by the naked eye. It magnifies the image of the specimen, enabling us to observe and study its intricate details.
How does a microscope work?
A microscope works by using a combination of lenses to magnify the specimen. The lenses refract light, allowing us to see the details of the specimen that would otherwise be invisible to us. The light passes through the specimen and then through the lenses, creating an enlarged image that can be viewed through the microscope’s eyepiece.
Can a phone camera be used as a microscope?
Yes, with the right equipment and setup, you can use your phone camera as a microscope. It is a convenient and cost-effective option for those who want to explore the microscopic world without investing in a separate microscope. Using your phone camera as a microscope can be a fun and educational experience, and it allows you to capture photos or videos of the specimens for further analysis or sharing with others.
Requirements
To turn your phone camera into a microscope, you will need:
A smartphone with a decent camera
Ensure that your smartphone has a good-quality camera capable of capturing clear and detailed images. The higher the resolution and megapixel count, the better the results will be.
A lens or lens attachment
Invest in a lens or lens attachment specifically designed for phone cameras. These lenses come in various types and magnifications, allowing you to choose the one that suits your needs best. The lens will enable you to magnify the specimen and capture detailed images.
Specimen slides or objects to observe
Prepare specimen slides or small objects that you would like to observe under the microscope. These can include items such as plant samples, tiny insects, or microorganisms. Slides are used to hold the specimens in place for observing and capturing images.
Proper lighting
Ensure that you have sufficient lighting to illuminate the specimens. Good lighting is essential for capturing clear images and properly observing the details of the specimens. Natural light or artificial light sources can both be used, depending on the availability and the type of specimens being observed.
Stable mount or tripod
Having a stable mount or tripod is crucial for keeping your phone steady during observation. This will prevent any unwanted movements or blurring of the images. Look for a mount or tripod specifically designed for holding a phone and attach it securely to a stable surface for optimal results.
Choosing the Right Lens
When it comes to turning your phone camera into a microscope, choosing the right lens is crucial. Here are the different types of lenses you can consider:
Macro lens
A macro lens is designed to magnify objects at close range, allowing you to observe details that are not visible to the naked eye. It is ideal for observing larger specimens or objects that do not require high magnification.
Micro lens
A micro lens provides higher magnification than a macro lens, allowing you to observe smaller objects or specimens in more detail. This lens is suitable for studying microorganisms, cells, or any other objects that require a higher level of magnification.
Clip-on lenses
Clip-on lenses are a popular choice for phone cameras. They can be easily attached to the phone’s camera lens using a clip mechanism. Clip-on lenses come in various magnifications and types, offering versatility and convenience. They are lightweight and portable, making them ideal for on-the-go microscopy.
Consider your specific needs and the type of specimens you will be observing when choosing a lens. It is also worth investing in a quality lens to ensure better image quality and clarity.
Preparing Your Phone
Before you begin using your phone camera as a microscope, there are a few steps you need to follow to prepare your device:
Cleaning the camera lens
Start by cleaning the camera lens on your phone to remove any dust or fingerprints that could affect image quality. Use a soft microfiber cloth or lens cleaning wipes to gently clean the lens, ensuring there are no smudges or debris.
Adjusting the camera settings
Access your phone’s camera settings and adjust them to optimize the image quality for microscopy purposes. Different phones have different settings, but you may want to experiment with aspects such as focus, exposure, and white balance to achieve the best results.
Using the phone’s flashlight as a light source
In some cases, you may need additional lighting to properly illuminate the specimens. If your phone has a built-in flashlight, you can use it as a light source by turning it on. This will help enhance the visibility and clarity of the specimens.

Setting Up the Microscope
Once your phone is prepared, it’s time to set up the microscope. Follow these steps to ensure a proper setup:
Creating a stable mount
Attach your phone securely to a stable mount or tripod. This will prevent any unwanted movements or shakes while observing the specimens. Make sure the mount or tripod is compatible with your phone and provides a secure hold.
Attaching the lens to your phone
Depending on the type of lens you have, follow the manufacturer’s instructions to attach it correctly to your phone’s camera lens. Clip-on lenses can be easily attached using the provided clip mechanism, while other lenses may require different attachment methods. Ensure the lens is aligned properly with the phone’s camera lens.
Adjusting the distance between the lens and specimen
Position the lens at an appropriate distance from the specimen to achieve the desired magnification. This may require some trial and error to find the optimal distance. Make sure the lens is close enough to capture the details but not too close so as to cause shadows or distortion.
Positioning the phone for optimal viewing
Adjust the position of your phone so that the camera lens aligns with the specimen on the slide. This will ensure that you have a clear view of the specimen on your phone’s screen. Experiment with different angles and positions to find the most comfortable and optimal viewing position.
Preparing Specimens
Before you can start observing your specimens, you need to properly prepare them for microscopy. Follow these steps:
Selecting specimens for observation
Choose specimens that are suitable for observation under a microscope. These can include plant cells, microorganisms, blood samples, or any other objects you wish to examine at a microscopic level. Ensure that the specimens are clean and free from any debris that may obstruct your view.
Preparing slides
Place a clean glass microscope slide on a flat surface. Gently transfer a small portion of the specimen onto the center of the slide using a dropper or a fine tool. Take care not to damage or contaminate the specimen during the transfer.
Mounting objects on slides using adhesive
If your specimen is not in liquid form or does not adhere to the slide naturally, you may need to use a suitable adhesive to mount it. Apply a small amount of adhesive near the edge of the slide and carefully place the specimen on top, ensuring that it sticks firmly.
Applying a coverslip
To protect the specimen and prevent it from being damaged or contaminated, place a thin coverslip over the mounted specimen. Gently lower the coverslip onto the specimen, taking care to avoid any air bubbles. Press down lightly to secure the coverslip in place.
Adjusting the Lighting
Proper lighting is essential for obtaining clear and well-illuminated images of your specimens. Consider the following factors when adjusting the lighting:
Natural light vs. artificial light sources
Depending on your environment and the type of specimens being observed, you can choose to use natural light or artificial light sources. Natural light can provide a more neutral lighting environment, while artificial light sources can be controlled and adjusted as needed.
Direct lighting vs. diffused lighting
Direct lighting can create harsh shadows and reflections, making it difficult to observe the specimens clearly. To minimize shadows and reflections, it is recommended to use diffused lighting. This can be achieved by placing a diffuser, such as a piece of tracing paper or a translucent material, between the light source and the specimen.
Avoiding shadows and reflections
Position your light source in such a way that it minimizes shadows and reflections. Adjust the angle, distance, and intensity of the light source to achieve optimal illumination without causing any unwanted artifacts.
Using the Phone Camera as a Microscope
With your setup ready and specimens prepared, it’s time to use your phone camera as a microscope. Here’s how:
Focusing on the specimen
Use the focus adjustment feature on your phone’s camera to ensure that the specimen is in clear focus. Tap on the screen where the specimen is located, and the camera will adjust the focus accordingly. Pay attention to fine details and adjust the focus as needed.
Taking photos or videos
Once the specimen is in focus, you can capture photos or record videos of the observed specimens. Take your time to explore different angles and perspectives. Remember to keep the phone steady and avoid any sudden movements that can result in blurry images or videos.
Using zoom and other camera features
Take advantage of the zoom and other camera features on your phone to enhance your microscopic experience. Zoom in to capture even finer details or experiment with different camera modes and settings to achieve unique and artistic results.
Monitoring live specimens
If you are observing live specimens, such as microorganisms in a water sample, you can use your phone camera to monitor their activities in real-time. This allows you to observe changes, movements, and behaviors that occur over a period of time.
Enhancing Image Quality
After capturing images or videos with your phone camera microscope, you can further enhance the image quality using various techniques:
Adjusting exposure and white balance
Explore the exposure and white balance settings on your phone’s camera to fine-tune the image quality. Adjusting the exposure can help ensure that the image is properly lit and not too dark or too bright. Similarly, adjusting the white balance can correct any color tints or imbalances in the image.
Using image editing apps
Transfer your captured images or videos to a computer or use image editing apps on your phone to further enhance the quality. These apps provide tools for adjusting brightness, contrast, sharpness, and other image parameters to achieve the desired results.
Using external lighting sources
If you need additional lighting to capture clearer and well-illuminated images, consider using external lighting sources. Attach a small LED light or a ring light to your microscope setup to enhance the lighting conditions and boost the image quality.
Conclusion
With the right equipment, setup, and technique, you can transform your phone camera into a functional microscope. This opens up a whole new world of exploration and observation, allowing you to discover and appreciate the intricate details of the microscopic world. Whether it’s for educational, scientific, or simply curious purposes, using your phone camera as a microscope offers convenience, versatility, and the ability to document and share your findings with others. So go ahead, unleash your curiosity, and embark on a microscopic journey with your trusty phone camera!


